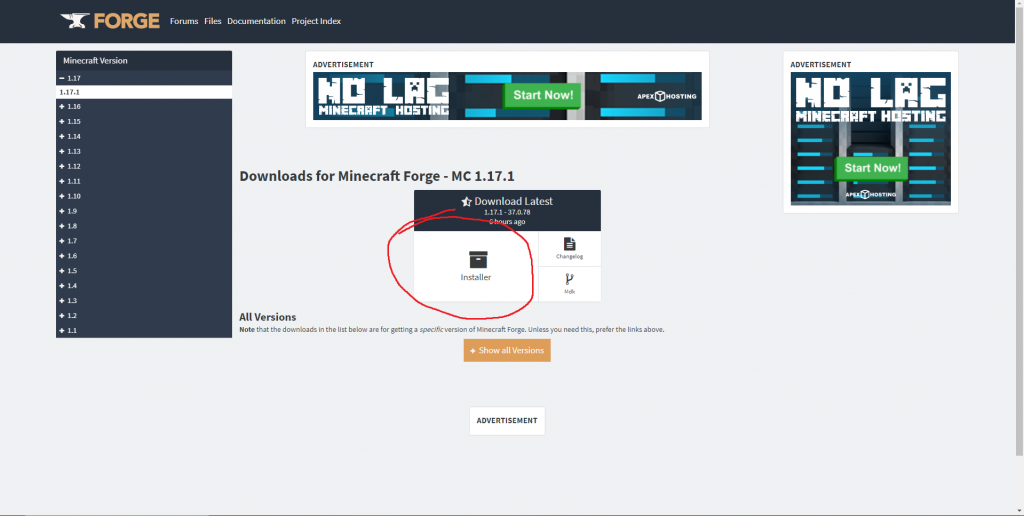
First, go to Forge and select your version of Minecraft on that screen, select “installer”. Note that you must have Java installed for this to work.
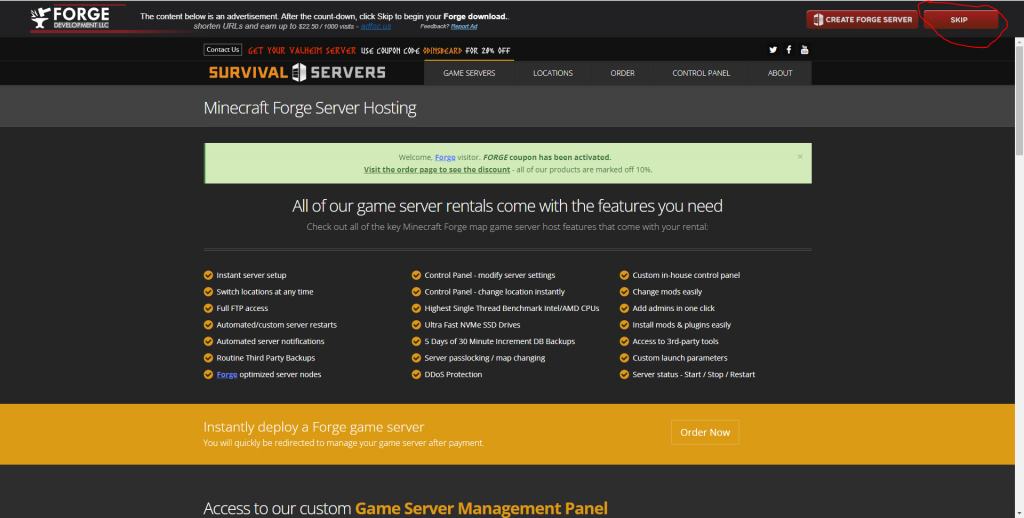
You will need to skip a few ads after that forge will be downloading. The skip button is up in the top right corner.
It will warn you because it is a .jar file, just press keep. After it is done, go to file explorer and go to downloads. Drag what you downloaded to your desktop. As long as it has Forge in the title, you are good to go.
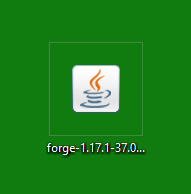
Right-click this file and click “Open with”, click on Java. it should open this screen.
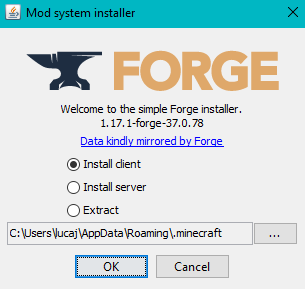
Make sure it is on “Install client”. Click “ok”. Please note that you must have whatever version of Minecraft you installed forge on, so if I clicked on 1.16.3, then I must have played 1.16.3. In my case, I installed Forge 1.17.1, I must have played 1.17.1, which I have, so it will work. Once that has finished installing, click “ok” and go to Minecraft Launcher. If it doesn’t show up in the bottom left corner then up the top next to play, will be installations. Click on that, select “New Installation”, click on version and forge should show up.
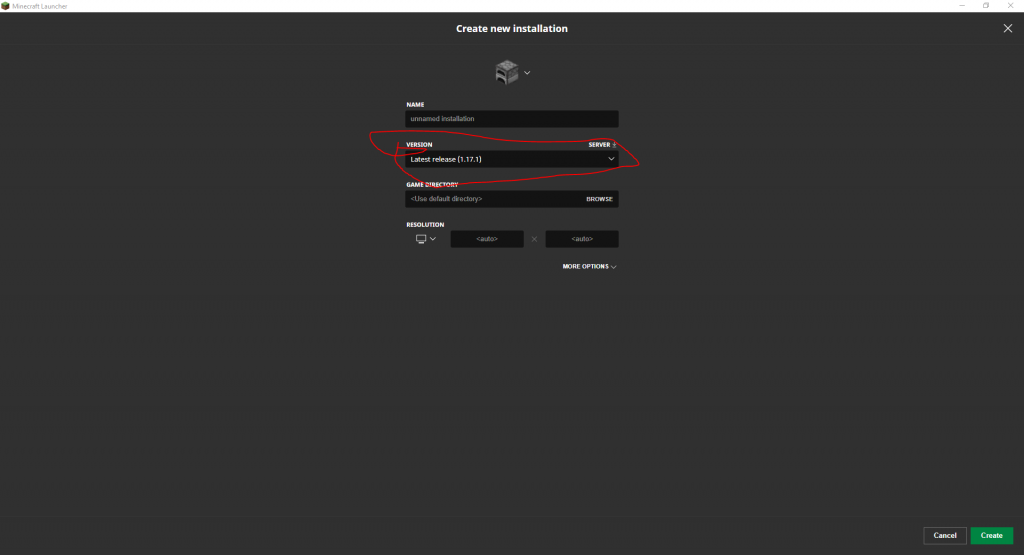
Click create down the bottom right, Find the version you just created and click play. It will warn you but that is normal, just click play.
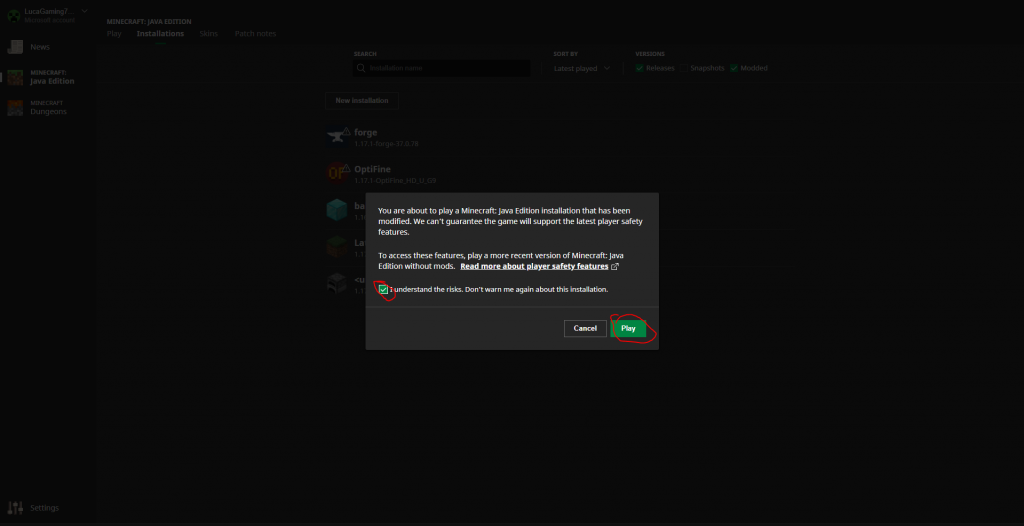
It will launch Forge, go to mods there will be none. Close Minecraft, download a few Forge mods for your version of Forge. Press the Windows key + R and it should open “run”. Type “%appdata%” into Run and at the top select .minecraft, go to the mods folder and drop the downloaded mods into that folder. Load Forge again and in the mods folder should be the mods you put into that folder. Load into your world and you are done. You have successfully installed Forge.
